Sub-10 lb: What to Cut, What to Keep
Sub-10 lb: What to Cut, What to Keep
Activity and experience
Ultralight backpacking is not a gear fetish. It is a philosophy with practical consequences: a lighter pack moves faster, covers more ground, reduces injury risk over long distances, and changes the quality of the experience in ways that are difficult to describe until you've felt 20 lbs on your back versus 8 lbs on your back for six consecutive hours on a rough trail. After that you understand.
Preparation from the source
DCF tarp-tent (two-person, single-wall, requires trekking poles) — 430g, no groundsheet required on most surfaces Down quilt rated to 5°C — 380g; warmer quilts exist but this covers three-season conditions with a sleeping pad Frameless hyperlite pack (38L) — 534g empty; pack only what fits, discipline built in by design
Why Cold Routes Demand Warm Minds: A Winter Mountaineering Primer
Activity and experience
Winter mountaineering has a reputation problem. The people who do it don't talk about it enough, and the people who write about it often make it sound like a form of self-punishment that only the pathologically stubborn can enjoy. Neither is accurate. Winter mountains are genuinely different from their summer versions — more demanding, more consequential, more beautiful in ways that don't photograph well — and understanding that difference is the beginning of doing it well.
Preparation from the source
Every gear guide for winter mountaineering includes a version of the three-layer system: base layer, mid-layer, shell. This is correct and also incomplete in ways that matter at -15°C with wind. What the guides under-describe is the number of hand-warming systems required, the specific failure points of each layer, and the importance of the transition between moving and stopping. When you're moving uphill in winter, you generate significant heat. The hardshell goes on your back or in the top of the pack. The mid-layer is open or removed. You're in a base layer in conditions where, stopped, you would freeze in minutes. Then you stop — for a navigation check, at a belay station, to look at the map — and the temperature differential hits immediately. The hardshell goes on first, before the mid-layer, because the shell traps the heat you've generated. The mid-layer over the top of the shell traps more. This seems counterintuitive and it is how it works. Hands are the specific failure point in winter climbing. The standard approach is a three-layer system: liner gloves (thin, for dexterity when placing gear), mid-weight insulated gloves (primary working glove), and expedition mitts (the backup and summit glove). You will take off and put on gloves thirty times on a long winter day. The liner gloves allow you to clip a carabiner. The mitts keep your fingers when the liner gloves are in your pocket. Losing a glove in wind above 1,500 metres in February is a trip-ending event. The extra mitts in the pack are not optional redundancy. They are structural.
Sub-10 lb: What to Cut, What to Keep
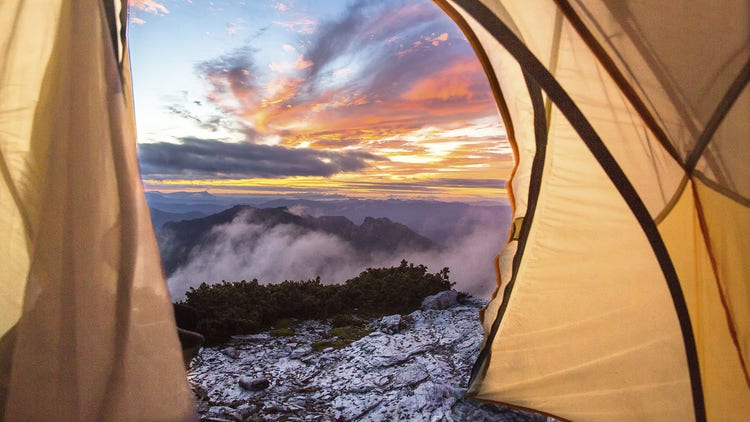
An honest guide to ultralight backpacking — where the weight actually lives, what to cut, what to keep, and when to ignore all of it.
DCF tarp-tent (two-person, single-wall, requires trekking poles) — 430g, no groundsheet required on most surfaces Down quilt rated to 5°C — 380g; warmer quilts exist but this covers three-season conditions with a sleeping pad Frameless hyperlite pack (38L) — 534g empty; pack only what fits, discipline built in by design
Why Cold Routes Demand Warm Minds: A Winter Mountaineering Primer
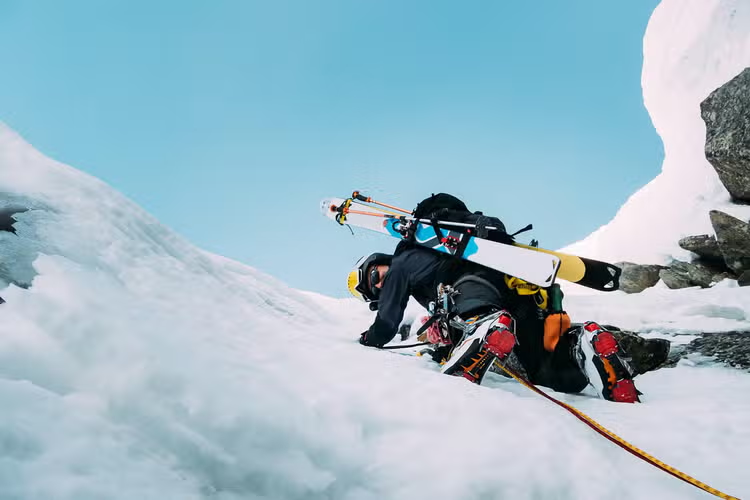
A winter mountaineering primer — what changes in winter, technical basics, avalanche awareness, cold starts, and the hardest skill: knowing when to turn around.
Every gear guide for winter mountaineering includes a version of the three-layer system: base layer, mid-layer, shell. This is correct and also incomplete in ways that matter at -15°C with wind. What the guides under-describe is the number of hand-warming systems required, the specific failure points of each layer, and the importance of the transition between moving and stopping. When you're moving uphill in winter, you generate significant heat. The hardshell goes on your back or in the top of the pack. The mid-layer is open or removed. You're in a base layer in conditions where, stopped, you would freeze in minutes. Then you stop — for a navigation check, at a belay station, to look at the map — and the temperature differential hits immediately. The hardshell goes on first, before the mid-layer, because the shell traps the heat you've generated. The mid-layer over the top of the shell traps more. This seems counterintuitive and it is how it works. Hands are the specific failure point in winter climbing. The standard approach is a three-layer system: liner gloves (thin, for dexterity when placing gear), mid-weight insulated gloves (primary working glove), and expedition mitts (the backup and summit glove). You will take off and put on gloves thirty times on a long winter day. The liner gloves allow you to clip a carabiner. The mitts keep your fingers when the liner gloves are in your pocket. Losing a glove in wind above 1,500 metres in February is a trip-ending event. The extra mitts in the pack are not optional redundancy. They are structural.
48 Hours in the Sonoran: A Field Guide to Desert Survival
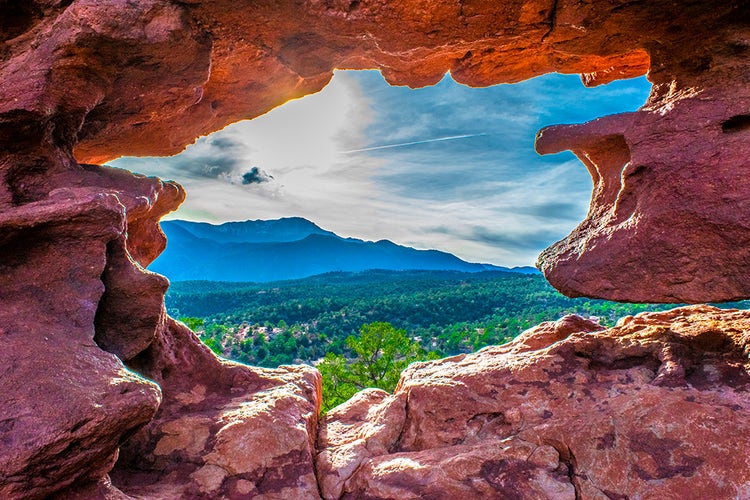
A field guide to 48 hours in the Sonoran Desert — water, heat management, navigation, wildlife, and the night desert.
3L hydration bladder (soft, fits inside pack) plus 1L hard-sided backup bottle Electrolyte powder — two servings per person per day minimum in summer heat Sun hoody, long-sleeve, UPF 50+ synthetic (not cotton, which retains sweat and increases chafing)
Planning notes
Start with what the source tells us; check current conditions before you go.